
The Communicator Revisited - October 2012
Phase 3: Its a Tower!
Part 2 of my chronology in last month’s Communicator took us to the completion of the concrete pour. Since then I decided not to grout beneath the base plate, as grouting seemed likely to cause retention of moisture and possibly lead to corrosion; also, the leveling nuts would no longer be adjustable.
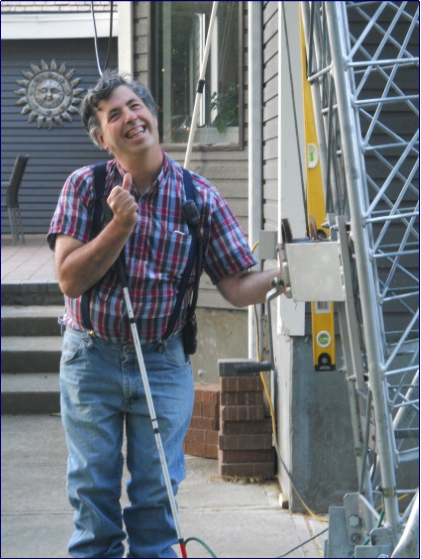
 After the concrete set for a couple of weeks, I invited the willing crew over once more to help me move the tower from its storage location onto the base and bolt it to the hinge. This tower weighs something like 800 lb. so 3 or more persons are required to lift it. Although I still had the old bolts from the previous owner, the threads were in poor condition therefore I elected to purchase new ¾ inch galvanized Grade 5 bolts from Princess Auto. With the two hinge bolts in place, we installed the tower lifting device and attached its cable to the tower.
 The hand winch was able to handle the lift easily as we slowly raised the tower to a vertical position [left] and bolted the 3rd leg. The leveling screws under the base plate were adjusted to get the tower perfectly plumb [right]. For the next week, I did not raise the tower higher, but just sat back and admired it before eventually lowering it to the ground once again. I installed a mast and rotator – a Ham III – half way up the top-most section of tower, and connected an 8-conductor cable to both rotator and controller. After testing to see if the mast rotated as it should (it did), I attached my 2m/440 vertical to the mast and once again raised the tower to a vertical position.
 | |||||
|
Since then I have cranked up the tower sections to a height of about 35 ft. at which height it has remained for the last 2 weeks to “introduce it to the neighbours”. So far, there has been no sign of the lynch mob!
 Three ground rods are embedded in concrete at the edges of the concrete footing. I connected each of these to its respective leg of the tower with #4 copper wire, using two stainless steel hose clamps. The copper wire is separated from the galvanized tower leg with a piece of 1/8” x ¾” x 3” stainless steel in order to discourage galvanic corrosion which could be expected if the two dissimilar metals were in intimate contact. The other end of each ground wire is fastened to the copper-plated ground rod by bronze clamps. Before assembling the clamps and conductors, I smeared the surfaces with GB Ox-Gard paste (from Home Depot) to discourage oxidation and maintain a good electrical bond. What’s next? I am waiting for a new 3-element beam, good for 40 m through 6 m and will attach it to the mast when it arrives in a couple of months. Then, I look forward to snagging some good DX in the winter months with my 100 watts.
~ John VA7XB


No comments:
Post a Comment
Sorry, but due to spam, only SARC member accounts may comment.
Note: Only a member of this blog may post a comment.